Steam And Stirling Engines You Can Build Volume 2
 Steam And Stirling Engines You Can Build Volume 2 $41.95
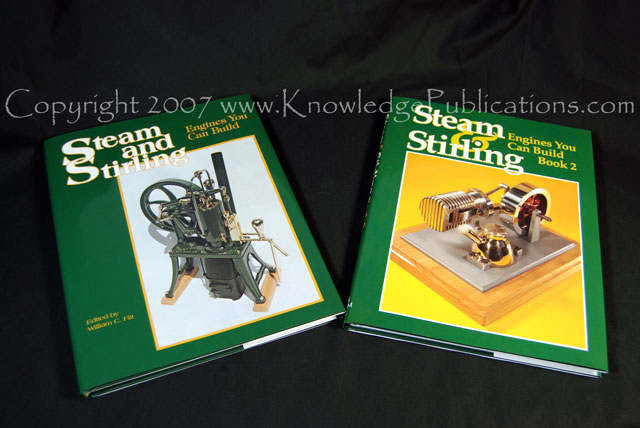
Steam and Stirling Engines You Can Build, Book 2, is much bigger than its predecessor. It is packed with far more projects, designs and techniques, yet it offers that same superior level of description providing hundreds more photos and sketches along with the extremely detailed instructions and guidance that the first book is famous for. The projects are written by 22 different authors with some designs based on prototypes while others are originals. The level of difficulty ranges from the very simple projects like the Simple Steam Engine and the Stirling Hot Air Engine can be completed with little more than a drill press and hand tools, to very sophisticated designs like the Duplex Pump. Also included in this sequel are some interesting articles on heating like Andy Sprague’s exact instructions, with photos and a sketch that will show you how to easily build a Simple Alcohol Burner and another excellent article which discusses how to use propane gas to fire your engine including updates from author Chris Leggo, based upon new findings. This book truly spares no detail you’ll even find a wide range of fine techniques for everything from creating more satisfactory lubrication to making a wood flywheel and roll forming copper boiler heads.


 |
 |
Steam Engines
A Steam Engine for the Novice
David Croft
 |
 |
 |
 |
Photos 5 through 8 show the process of making small hex screws. As an example, I will describe the making of the 6-40 screws specified for the attachment of the columns to the baseplate and table plate. Clamp the carriage to the lathe bed with the parting tool about 1/16" in front of the jaws of the three-jaw chuck. The top slide is set parallel to the bed. In one tool holder slot, mount a tool ground like a facing tool with a sharp or very tiny radiused end and plenty of clearance and top rake. This tool is going to reduce the 7/32" hex bar to finished diameter of 0.138" in one cut, so you might as well set it up to do just that right now. Set the cross slide index to read zero corresponding with this diameter. Now position the tool to the right of the parting tool by the length of the screw, the head thickness, and about 0.010" extra (0.375 + 0.102 + 0.010") and set the top slide index to read zero. Push the hex rod through the chuck until it touches the tip of the tool.
Root's Engine
R. S. Hedin
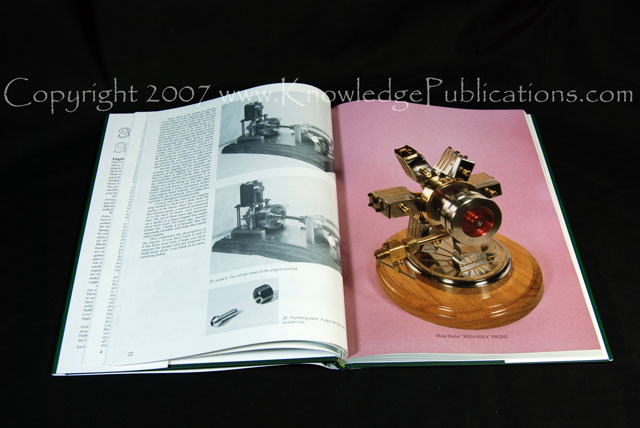
"Hula-hula" Engine
Philip Duclo
 |
 |
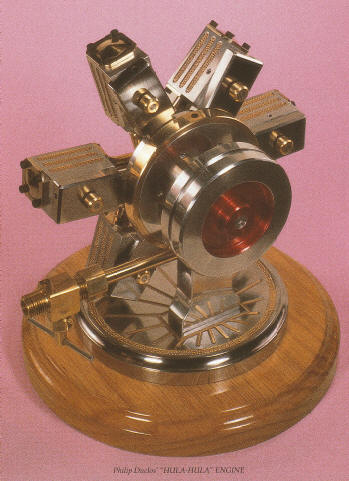 |
With loosened clamps, shift the work by hand until it's centered true, then tighten the clamps. Use the longitudinal table travel for performing the next few operations. Now, move the work to the right enough to clear the spindle and install a sharp 1/2" end mill. Then position it to barely touch the surface of the work. Set the calibrated collar on the mill spindle to zero. Now move the cutter to the left to clear the work and lower it somewhat. The idea is to mill all six slots as close as possible to the same depth and length. Measure the actual diameter of the body. Subtract .750" from that and divide the result by 2. That amount will be the length of each slot. Now bring the end mill to barely touch the perimeter of the body. Set the calibrated collar on the longitudinal table travel to zero. It's advisable, when milling the slots, to gradually lower the cutter in steps of about .050" at a time. But before doing any cutting, check that the rotary table is set to its zero degree mark. The first slot to be cut will eventually be the one for the master cylinder. Proceed now to mill the first slot completely. Clear the end mill to the left from the work; crank the rotary clockwise 57-1/2°, and lock it. Mill the second slot. Crank the rotary around to 115° for the third slot, 180° for the next, then 245°, and finally 302-1/2°
A Simple Steam Engine
John A. Aho
 |
The action in this Simple Steam Engine is very simple. The valve is lifted from its seat at the top of the stroke and seats itself when the piston moves down the cylinder. The exhaust is uniflow, through the port at the lower end of the stroke. There is a wide latitude in the permissible dimensions, as these may be varied to suit the available materials. In the construction of the engine, there are however a few points that must be adhered to, which are provided in precise detail within the text |
 |
Simplex & Duplex
Rob van Dort
 |
 |
 |
A Reversing Duplex
Jim Lyman
A Toy For Richard
Richard M. Mitchell
An Original Mill Engine "Scrapbox"
Paul Jacobs
A Three-cylinder Oscillating Steam Engine
Samuel K. Hodgson
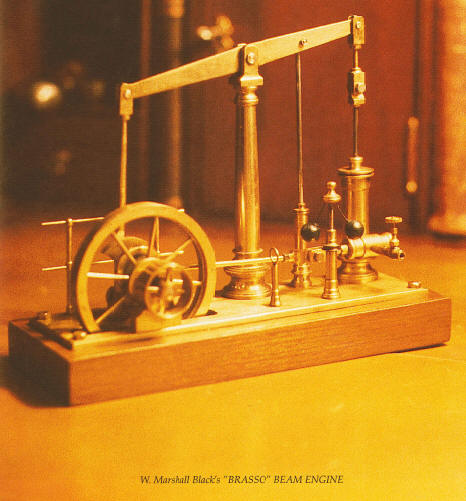
Brasso — A Small Beam Engine
W. Marshall Black
 |
 |
An Easy-to-build Speeder
Andy Sprague
 |
 |
 |
A Speeder Update — An Alternative Engine
Andy Sprague
The Tesla Turbine
R. S. Hedin
 |
 |
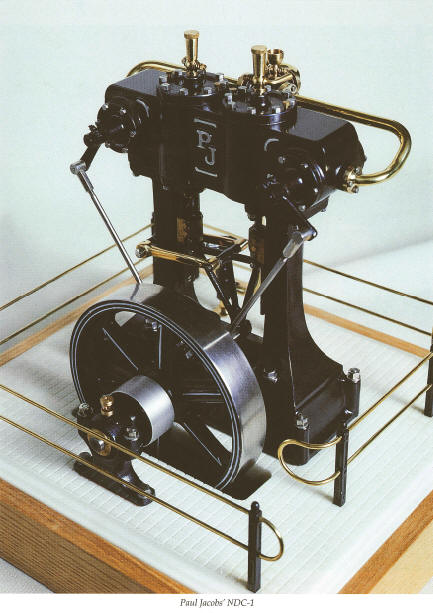
NDC-1
Paul Jacobs
 |
 |
The cylinder block (1) is all important since it determines the location and sizes of many of the parts. When boring the cylinders and the valve cavities, be sure to center on the bosses. The porting is cast in (cored) and will appear during machining. All of the tapped holes in the block, except for the piston rod guides (1-A), should be match-drilled from the part to be attached (columns, covers, and manifolds). All the machine work on the block was done on the mill, using 1-2-3 blocks and an angle plate. By mounting the block right side up, with the exhaust bosses facing out, you can skim the top, bore the cylinders, tap for the rod guides, and trim the valve bosses and the steam and exhaust bosses (Photos 2 and 3).
The Mystery Machine
Arnold Teague
"Woody"
John W Reichart
Duplex Pump
Jeffrey C. Maier
|
  |
Locate and center punch the positions of the center of each steam cylinder. Return the cylinder block to the milling machine, as illustrated in Photo 11. Shim the block up off the bottom of the vise by 3/8" or so to allow space for drill bits to come through. Center one of the cylinder locations under the mill spindle and lock it tightly in place. Several cutting operations will take place here, so the table must not move. Drill all the way through the block with a .375" drill. After backing the drill out, install a .500" drill and drill down to a depth of 2.063". Back out this drill and remove it and the drill chuck. Install the boring head in the mill. Begin boring to a depth of 2.063" each time, taking about .04" to .05" in diameter with each cut, until a diameter of 1.188" is reached. Continue cutting .04" to .05" in diameter, except now bore to a depth of 1.938". Continue boring until a diameter of 1.313" has been reached. You will have cut a step located right at the edge of the rod end steam way. This step will serve as a stop for the cylinder sleeve, so it gets inserted to the exact depth. Unlock the tightly clamped (and immobile) mill table, and locate the center of the other cylinder under the spindle.
A Junkbox Steamroller
Andy Sprague
Stirling Hot Air Engines
Fire Eater Engine
Philip Duclos
Stirling Hot Air Engine
Ray J. Colin
A Simple, Low-cost Stirling Cycle Engine
Tim Kraemer
Boiler Works
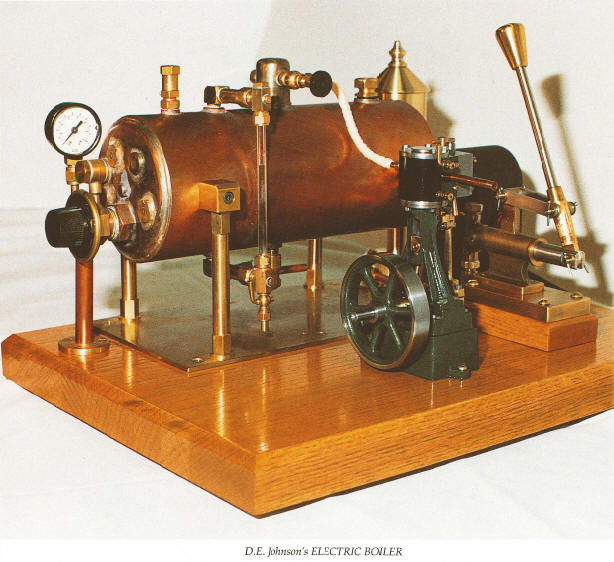
An Automatic Electric Model Boiler
D. E. Johnson
 |
 |
Details of the electrical junction box are shown in Figure 18 and Photo 19. The J-box frame was band-sawn from a 2" thick block of aluminum scrap, and finished on the narrow belt grinder. Holes for the pilot light (23) and the on-off switch (24) are drilled in the frame. I used a red pilot light which is on whenever the thermoswitch feeds power to the heater. The push-button on-off switch has a light in the button which is on whenever the switch is in the on position – i.e., power is available to the thermoswitch.
Roll Forming Copper Boiler Heads
D. E. Johnson
Related Topics
The Use and Storage of Propane
Christopher Leggo
Stirling Engine Work
Andrew Ross
 |
 |
Imagine a little engine for your I bicycle, canoe, or campside generator set that is as quiet as a sewing machine. It runs on kerosene, and its nonpoisonous flue gases are practically odorless. It starts easily, and, with only seven moving parts, it should run without repair for many hundreds of hours, burning less than one-half liter of kerosene per hour. Such an engine exists and it is called the modern Stirling "hot air" engine.
Make a See-through Displacement Lubricator
William T. Roubal
Flywheel Tapered Bushing
Robert C. Johnson
Wood Flywheels
D. A. Drayson
A Simple Alcohol Burner
Andy Sprague
 |
 |
When in operation, this little unit vaporizes beautifully with a blue flame that would make any self-respecting kitchen gas range proud, and will steam the boiler for about 25 minutes. The photo shows the burner as applied to a Diamond Enterprises D-48 boiler, and hooked up to a V-4 Saito engine.
Steam And Stirling Engines You Can Build Volume 2 $41.95
Steam and Stirling Engines You Can Build, Book 2, is much bigger than its predecessor. It is packed with far more projects, designs and techniques, yet it offers that same superior level of description providing hundreds more photos and sketches along with the extremely detailed instructions and guidance that the first book is famous for. The projects are written by 22 different authors with some designs based on prototypes while others are originals. The level of difficulty ranges from the very simple projects like the Simple Steam Engine and the Stirling Hot Air Engine can be completed with little more than a drill press and hand tools, to very sophisticated designs like the Duplex Pump. Also included in this sequel are some interesting articles on heating like Andy Sprague’s exact instructions, with photos and a sketch that will show you how to easily build a Simple Alcohol Burner and another excellent article which discusses how to use propane gas to fire your engine including updates from author Chris Leggo, based upon new findings. This book truly spares no detail you’ll even find a wide range of fine techniques for everything from creating more satisfactory lubrication to making a wood flywheel and roll forming copper boiler heads.