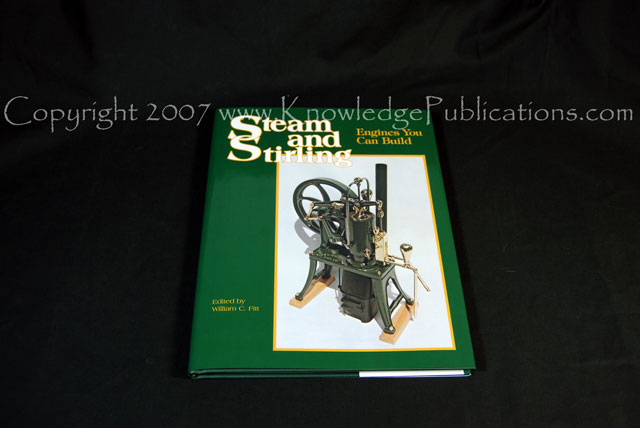
Steam And Stirling Engines You Can Build Volume 1
Steam and Stirling Engines You Can Build Volume 1 $41.95
Steam and Stirling—Engines You Can Build, provides the specific “how-to” details that amateur machinists and tinkers need to complete great live steam power projects. With hundreds of sketches and photos, blow-by-blow instructions and explicit design information you will be able to easily build and use, completely functional Half-Horse Marine Engines, Steam Turbines, Opposed Piston Steam Engines, V-4 Oscillating Cylinder Engines, and many more fascinating contraptions. This book opens up to the thrill of building something that actually works, it’s yours by just following the directions! If you are a complete novice in this field, pick one of the simpler projects for your first attempt and gradually work your way through the others as your skill, abilities and confidence increase. One thing is absolutely certain, you are sure to find countless pleasurable hours in your workshop with the projects in this book.
![]()


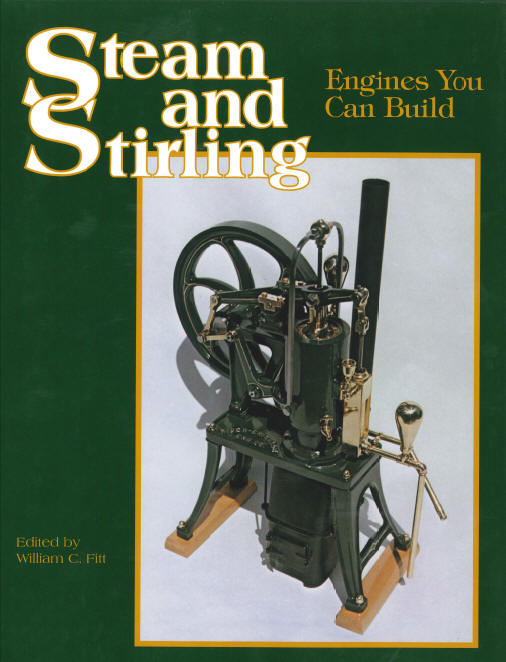
Steam and Stirling
Engines You Can Build
Relaxation is found in many forms. While some find it in the wide open spaces of the great outdoors, others are discovering it measured in thousandths and tens of thousandths of an inch in cozy home workshops.
To this latter group, Steam and Stirling – Engines You Can Build provides direction for the experienced and instruction for the novice. The projects presented have been built by men from all walks of life and were designed by hobbyists from an equally broad span of devotees who enjoy model engineering as a fascinating and extremely satisfying pastime.
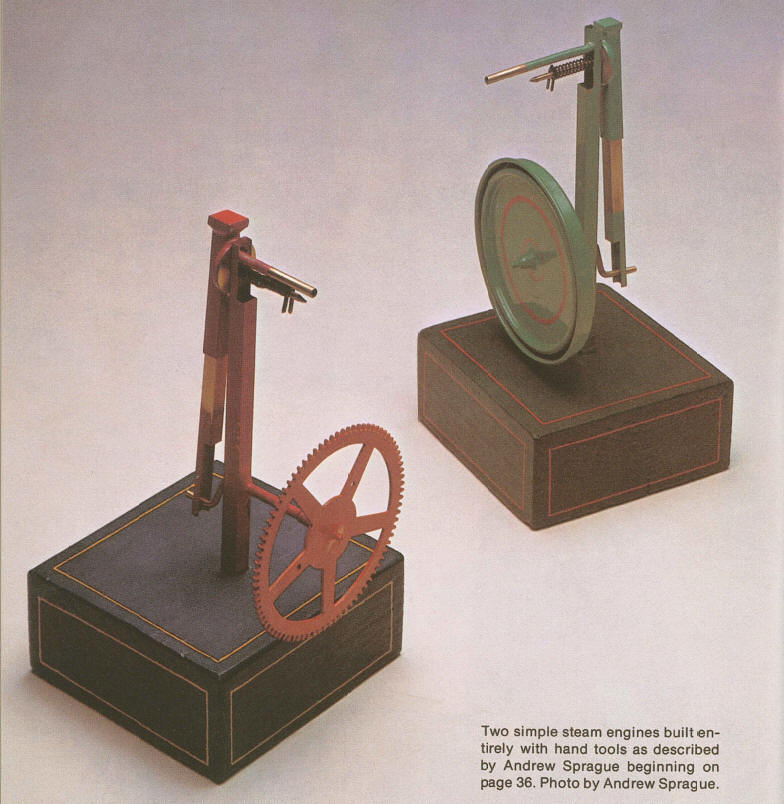
If you presently do not have a home workshop, you can start off with Andrew Sprague's "Hand-Tool Steam Engines" which can be built with the inexpensive hand tools found in almost any home or apartment. Many Live Steam projects have been built using a small electric hand drill as a lathe. Even if space precludes a separate room for a workshop, small-capacity metalworking machinery is available that can be set up on a kitchen table and stored away in a closet or cabinet when not in use. Sooner or later though, you will probably want to include some of the larger projects. However, by then you will likely have either built up your stock of tools slowly and will have all that you need or perhaps you will consider enrolling in a night-school class where adequate facilities are available.
Stationary Steam Plant
W. Marshall Black
This is just a small example of the level of detail that you will be able to expect from this book:
Let's begin with the boiler. Get a piece of 11/4" OD, thin wall, brass tube from the hardware store — the kind used for plumbing under sinks. File off the chrome plate. Check the end for square, and hacksaw off a piece about 31/2" long for the boiler shell. Deburr the ID and set aside. Now for the boiler drum-ends. Chuck up a brass bar slightly larger in OD than the shell ID or, better, scribe a circle on a scrap of 1/4" brass plate, hacksaw out, and soft solder to a chucking mandrel. Either way, turn two disks to be a tight push fit into the ends of the shell. Dig out a cavity about 3/16" smaller than the OD of the disk. This should be about 1/8" deep. Cut off the disks or melt loose from the mandrel. Push one into the shell with the cavity facing inside. If you've made the disk a snug push fit, it will be square with store-bought end of the tube. Leave a scant 1/8" sticking out. Get out the propane torch, flux the joint, and soft solder one drum end to the tube. Flow in a little excess solder. Use silver solder if you have the stuff, but this isn't worth the extra bother.
Free-hand sketches on grid paper serve to "gel" the design for construction. Frequently, on subminiature work, "A" on the grid is used to represent 1 /64" on the model. This drawing is a tracing of the original construction sketch which was made full size. Critical dimensions such as valve porting are determined by timely scribing on the parts as work progresses. This boiler was No. 3 in a series of experimental models and incorporates several desirable features learned the hard way.
An Unusual Steam Engine
Robert S. Hedin
Half-Horse Marine Engine
Henry Greenly
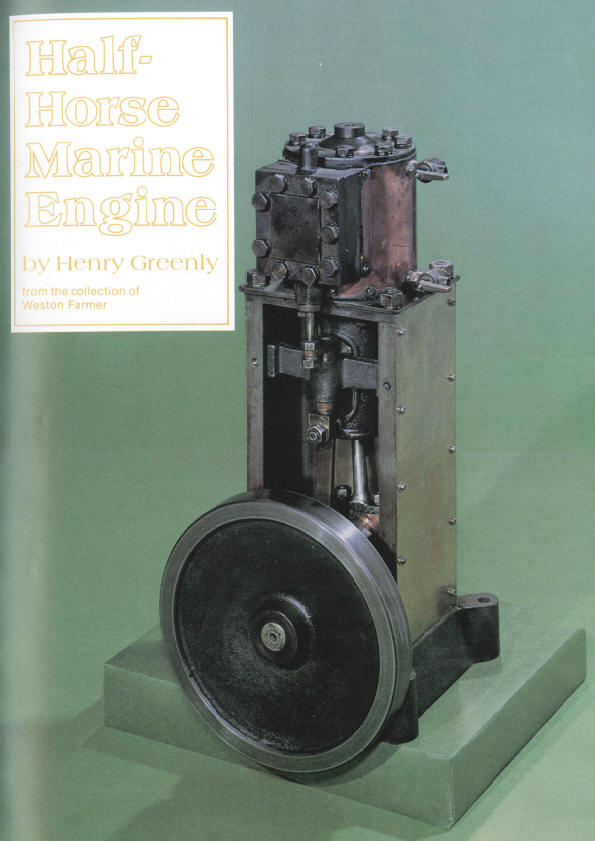
To propel a steamboat which carries its own skipper, an engine of at least a half horsepower is essential. This power must not be nominal; it must be capable of development with a full head of steam, continuously, but without draining the boiler.
It is surprising how small a cylinder is really necessary, so long as it is built in a truly scientific manner. Over-cylindering must, at all times, be avoided as the real source of power is the boiler. The engine is only the medium by which the heat energy is converted into mechanical energy. (It would be no good to put a 10 HP electric motor onto a wireless battery and expect it to go.) Also, so long as the bearings are of ample area and the framing of sufficient stiffness, the lightest construction may be adopted.
The text provides a brief set of specifications and an outline which will assist you in construction of your engine, for example:
The CYLINDER is of cast iron, 13/4" bore x 21/2" stroke. When finished, it is complete in itself with the added steam chests and bored crosshead guide standing on the four columns.
A Brief Prelude
Weston Farmer
Moriya
Dr. James R. Senft
A Steam Turbine
Dale Hobson
 |
 |
To complete the rotor about all that's needed is two pieces of 1/2" round brass. Drill 1/4" holes through the centers on your lathe and face off the ends to a length of 3/8". That finishes the spacer. Half way along the length of the other one, drill into the center hole and tap for an 8-32 set screw. Put the spacer on up against the rotor and push the shaft all the way into its bearing. File a little flat spot on the shaft just beyond the bearing block where the set screw will set; it will prevent scoring the round part of the shaft. Polish off any roughness the file may have left before taking the shaft out. For the final assembly, leave a few thousandths end clearance between the retainer and the bearing block, being sure the shaft turns freely in the bearing. Don't forget a drop or two of light oil once in a while, particularly on final assembly.
Hand-Tool Steam Engine
Andrew Sprague
A Word About Metrics
William C. Fitt
Variations On A Theme
Gary R. Slack
Bijou
Dr. James R. Senft

Despite its small size, Bijou is not hard to build; it is an ideal short project for a small lathe such as the Unimat. Nearly all the dimensions given in the drawings can be varied three thousandths — very easy tolerances to live within machine work. Exceptions occur where one part must mate another in a running or press fit, but even here the tolerance applies to one of the parts. Furthermore, a simple two-piece fixture used to drill the steam ports assures correct location of these items so critical to the proper operation of any oscillating engine.
Thimble Power Plant
Dr. James R. Senft
 |
 |
A study of the drawings will indicate the cutting tools required. In addition to the usual, you will need some small number drills, a 1/16" dia. chucking reamer, a 1/16" dia. endmill, and a 000120 tap. As for materials, I used a No. 11 Clinton thimble for the boiler; this is a quality thimble of heavy gauge brass chrome plated. You will also need two 000-120 fillister head machine screws, one to secure the flywheel to its shaft and the other to retain the cylinder spring. Phosphor bronze wire of .006" dia. was used for the spring , but music wire will do just as well. The shafts of the crank were taken from the shanks of old drills. The remaining material is bar stock — no castings needed!
Minikin
Dr. James R. Senft
Opposed Piston Steam Engine
Elmer Verburg
Hot Air Pumping Engine
Larry Kazyak
 |
 |
Machining the FLYWHEEL is shown in photos 14 and 15. First mount it in a four-jaw chuck on the i.d. of the rim, centering it on the cast portion of the rim between the spokes. Machine the front face, both the hub and rim. Take a cut off the o.d. of the flywheel, but not down to the finish dimension. Merely achieve a full 360° cut, then remove the flywheel from the chuck and remount it with the other face to be machined. You will use the rough-machined o.d. as the circular datum on which to indicate and the back face as the perpendicular datum. If you are within about .010" total indicator reading on the o.d., this will suffice, because you will bore the .499" diameter bore for the crankshaft and finish the o.d. with the same setup, which will assure you a true-running flywheel.
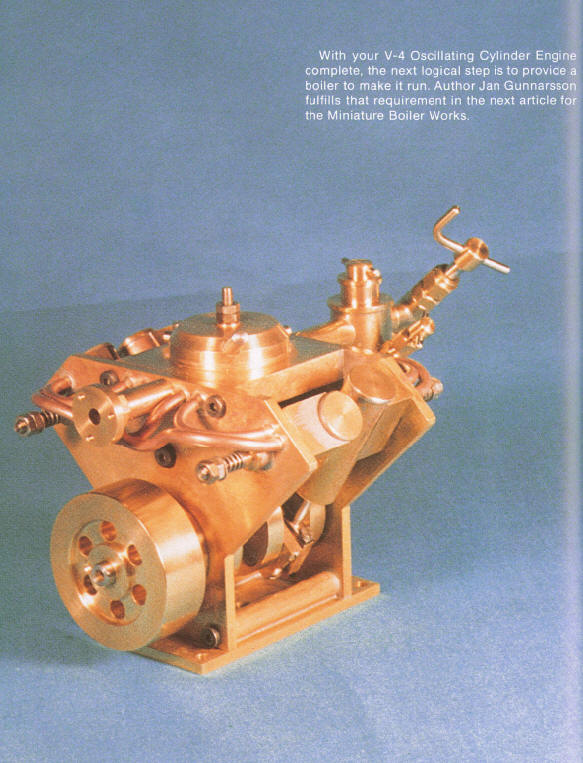
V-4 Oscillating Cylinder Engine
Jan Gunnarsson
 |
 |
 |
The first part to tackle is the Boiler Barrel tube. If your lathe will swing the 54mm tube over the cross-slide, cut the tube a little over-length, say 155mm, with a hacksaw. Unless you have a fixed steady, turn up a wooden bung to a force fit in the tube. Center drill deeply in one end of the bung and knock it into one end of the tube. Grip the other end in the three-jaw chuck. Support the outer end with a center held in the tailstock. True up the outer end and then remove the sharp edges, using file and scraper, running at low speed. |  |
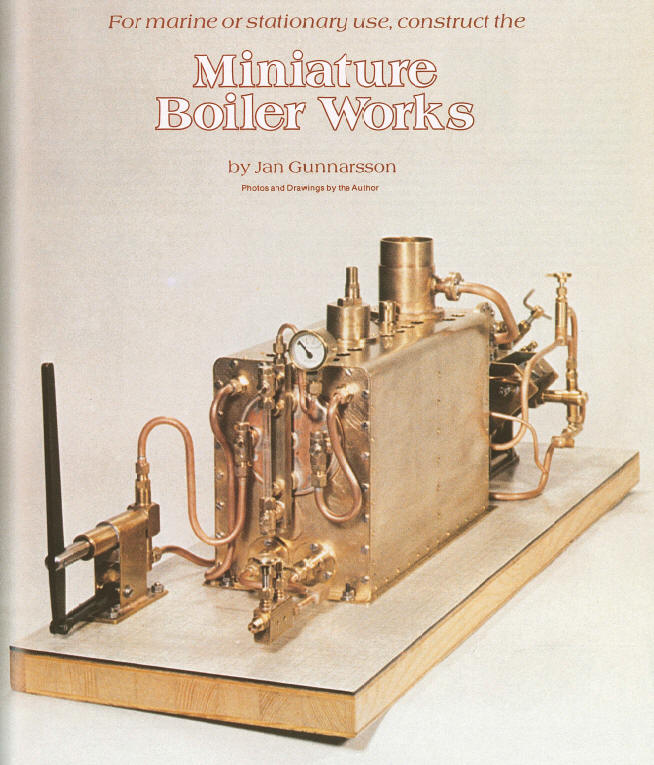
Miniature Boiler Works
Jan Gunnarsson
 |
The Bypass Valve (33) is used to regulate the amount of water forced into the boiler by the engine feed pump. It is set to maintain a steady water level in the boiler, the pump's excess discharge being bled back to the inlet side of the pump. The Valve Body (33A) is made of two pieces of brass rod, silver soldered together. First, part off a piece of 8mm diameter rod, say, 30rnm long. Drill a 8mm diameter cross hole, 9mm from one end. Then part off a 6mm diameter rod to 30rnm length. Insert this in the hole in the thicker rod and adjust until it protrudes equally on both sides. Silver solder in position. Grip the valve body by the longer 8mm diameter endin the three-jaw. Face the other end until it extends 8mm from the soldered joint. Center drill and drill to 13mm depth, using a 4.5mm drill bit. Change the drill bit to 2mm and drill through. Chamfer the entrance to the hole slightly and tap M5 x 0.5 to 6mm depth. |
 |
 |
 |
Make the Gland (33B) and Gland Nut (33C) from 7mm hex stock. These call for no further description. The Valve Spindle (33D) is made from a piece of 3mm diameter stainless steel rod. Be careful about the length of the thread. Make the handwheel of brass and secure it with a drop of Loctite. Drill a cross hole of 2mm diameter and fit a handle of 2mm diameter drill rod. It, too, could be secured with Loctite. |
 |
Appendix
Millimeter to Decimal Inch Conversion Charts
Larry Kochi
Consecutive Listing of Regular Drill Sizes
William C. Fitt
Suppliers
Steam and Stirling Engines You Can Build Volume 1 $41.95
Steam and Stirling—Engines You Can Build, provides the specific “how-to” details that amateur machinists and tinkers need to complete great live steam power projects. With hundreds of sketches and photos, blow-by-blow instructions and explicit design information you will be able to easily build and use, completely functional Half-Horse Marine Engines, Steam Turbines, Opposed Piston Steam Engines, V-4 Oscillating Cylinder Engines, and many more fascinating contraptions. This book opens up to the thrill of building something that actually works, it’s yours by just following the directions! If you are a complete novice in this field, pick one of the simpler projects for your first attempt and gradually work your way through the others as your skill, abilities and confidence increase. One thing is absolutely certain, you are sure to find countless pleasurable hours in your workshop with the projects in this book.
![]()